
About a month ago, I found myself browsing a lovely bookstore where I found some wonderful used cookbooks. (Yay!) While not one of the used ones, I came across a great deal on Daniel Leader’s Local Breads, which I could not pass up. I had been wanting to try to make some sourdough for a long time and the book is mostly sourdough breads, taken from all over Europe. It’s a wonderful collection of recipes, providing a delicious tour of regional breads.
After buying the book, I almost immediately began the process of making a sourdough starter. Unfortunately, it did not work out. I actually believe the yeast was starved. The (unusual) instructions did not require any removal of part of the starter for up to 10 days. This meant that the starter was getting larger, with more and more yeast cultures. However, the feeding amount remained the same. Thus, the yeast may have been starved. So, I tried again, using a different method, from Rose Levy Beranbaum’s The Bread Bible. This time, it seemed to be working very well… at first. I actually believe it was too warm to properly begin a sourdough starter in my home, so the yeast was just eating up all the food, then dying off. Now, these are just speculations, but it’s what I believe happened. After two attempts at making a sourdough starter, I decided to try a non-sourdough recipe from my new book while I considered a third try.
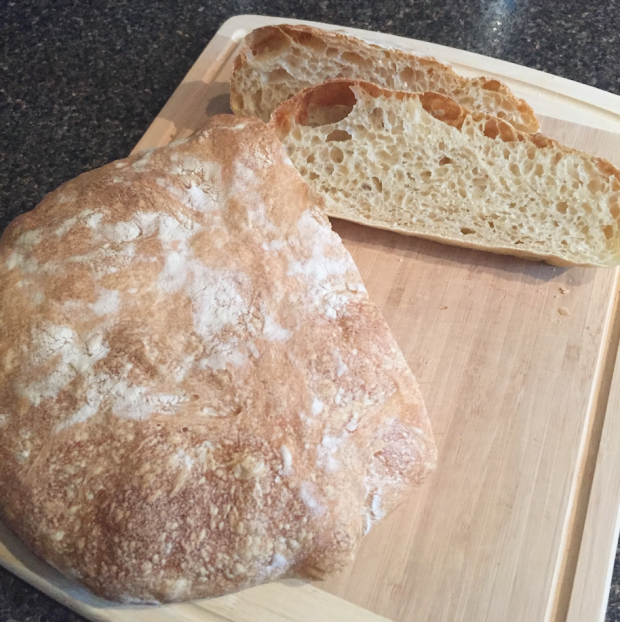
This particular bread is a local specialty of the Lake Como region of Italy, located at the foothills of the Alps in Northern Italy. (The scenery is gorgeous!) It is made using a biga, a fairly stiff Italian starter, giving it a nice, light flavor. It has a wonderful open crumb and chewy crust, reminiscent of a ciabatta. In fact, throughout the entire process of making it, I was reminded of ciabatta. However, I think this loaf was even more delicious! Unlike most loaves, it is baked with the seam side up, allowing it to open up while baking. I was not able to achieve this look, but it was still an incredible bread!
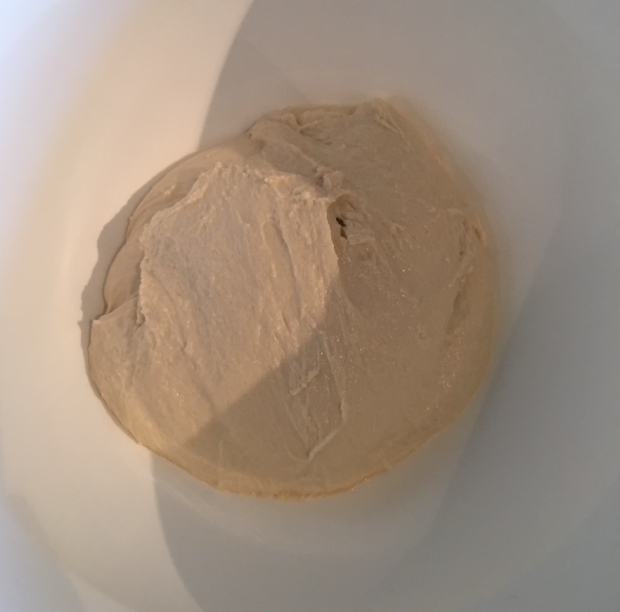
Naturally, the first step was to prepare the biga. I mixed up the flour, water, and yeast in a small bowl.
It formed a pretty stiff dough.
I turned it out onto a floured counter and kneaded for a minute or two to form a fairly smooth dough.
Then, I placed it back in the small bowl, which I had cleaned out and lightly oiled. I lightly oiled the top of the biga and covered it with plastic wrap.
I let the biga ferment at room temperature for about an hour.
After this hour, I placed it in the refrigerator overnight. It was in there for about 15 hours, as I was going for a long fermentation time for better flavor. You could leave it in there as few as 8 hours or as long as 16.
In the morning, I took my biga out of the fridge and prepared to make the dough.
I placed the biga in the bowl of my KitchenAid and added the room temperature water.
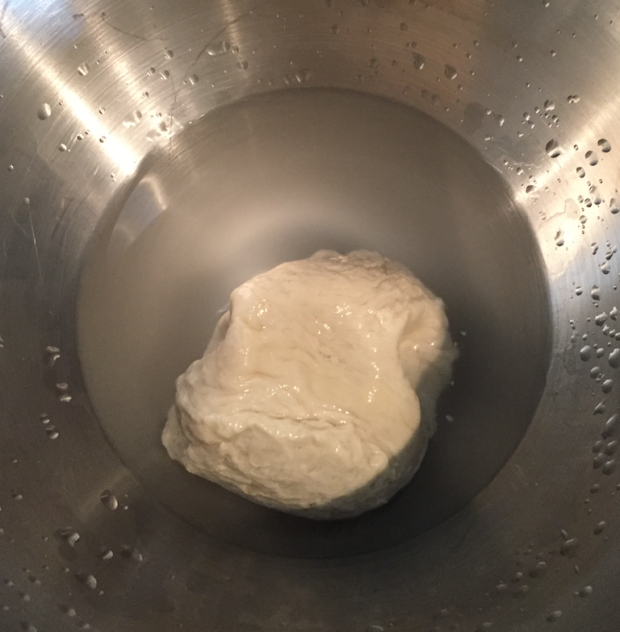
The biga was actually fairly stiff at this point, partially due its cold temperature. I used a bowl scraper to break it up a bit in the water.
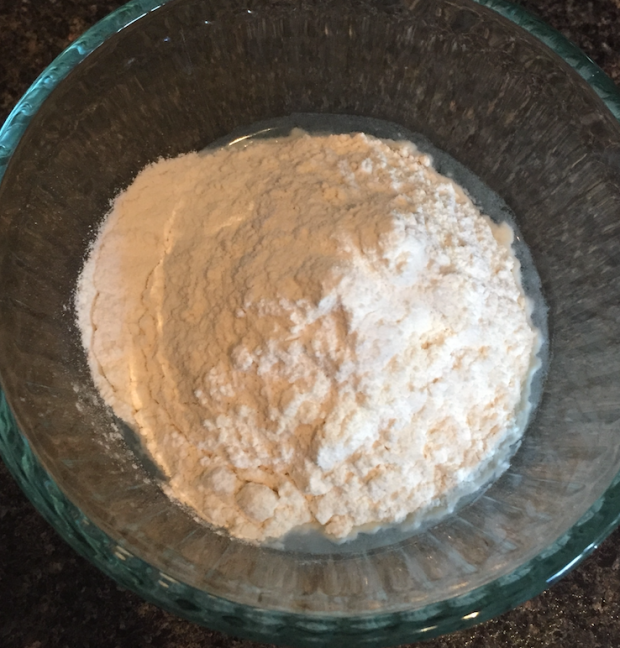
Next, I added the yeast and flour to the bowl.
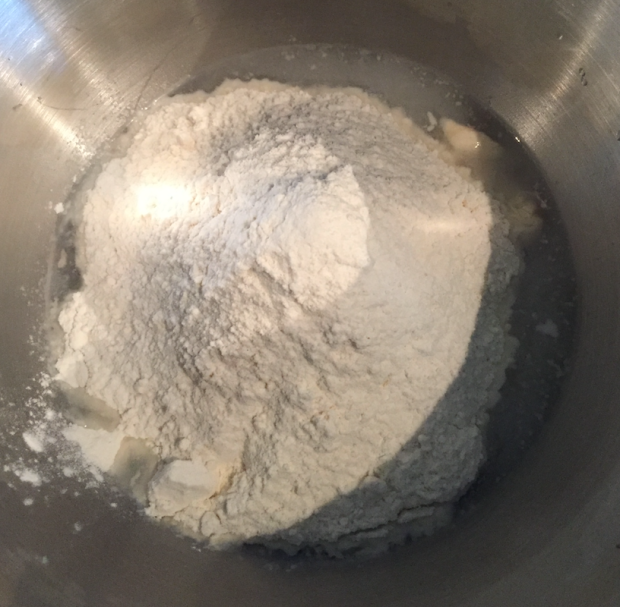
I mixed it briefly on low speed with a dough hook just to form a rough dough. Then, I added the salt.
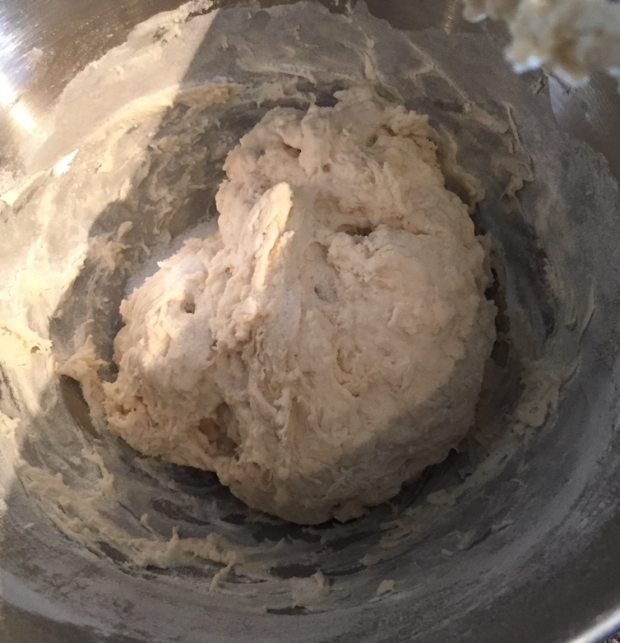
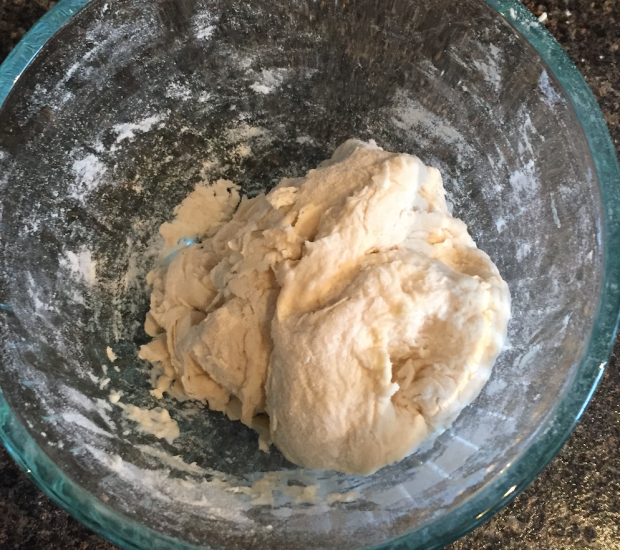
I began to knead it on medium speed. After a few minutes, it was not seeming as wet as the recipe indicated that it should be. The recipe stated that it should not come away from the sides of the bowl. Well, mine came away almost immediately, only sticking a bit to the bottom. I thought it might just be cold, so I gave it a bit more time. After 8 minutes of kneading, it continued to pull away even more, so I decided to add some water. I added about 1/2 tablespoon, which seemed to help. However, it was still not sticking to the sides of the bowl. I added another 1/2 tablespoon of water. After this water was thoroughly incorporated, it was still coming away from the sides. I thought adding more water would be too risky, so I went ahead with the dough as it was. In total, I kneaded it for about 12 minutes.
In the end, it actually did turn out very sticky and wet… and very shiny. I worried that the extra water was actually unnecessary. I figured that, worst case scenario, it would have an extra-open crumb, which was okay with me. It also had some lovely gluten development, creating an almost stringy look.
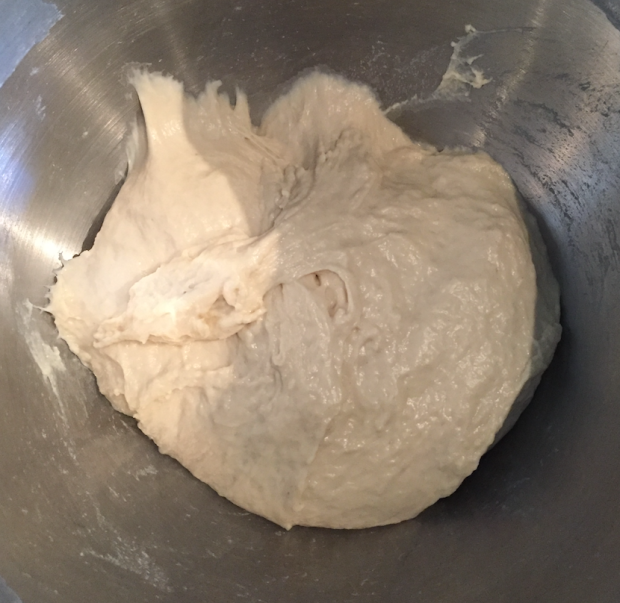
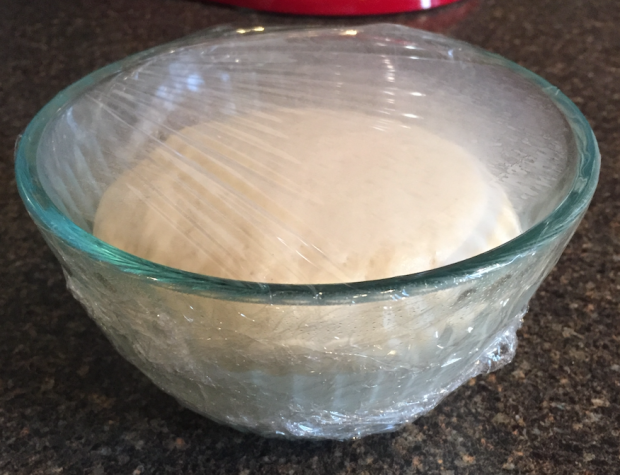
I scraped it into an oiled bowl, lightly oiled the top, and covered it with plastic wrap.
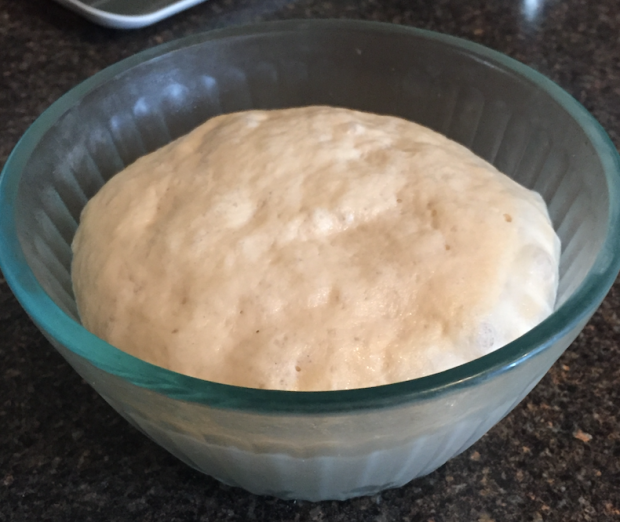
After allowing it to rise for about 2 hours 15 minutes, it had doubled in size.
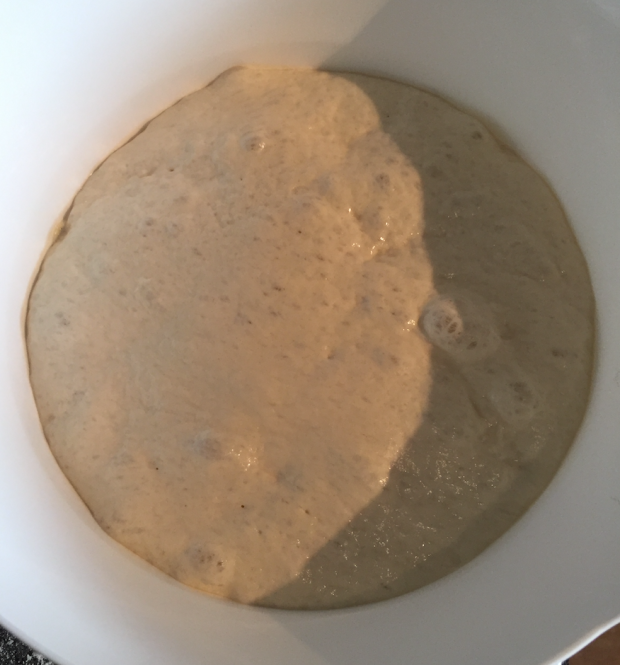
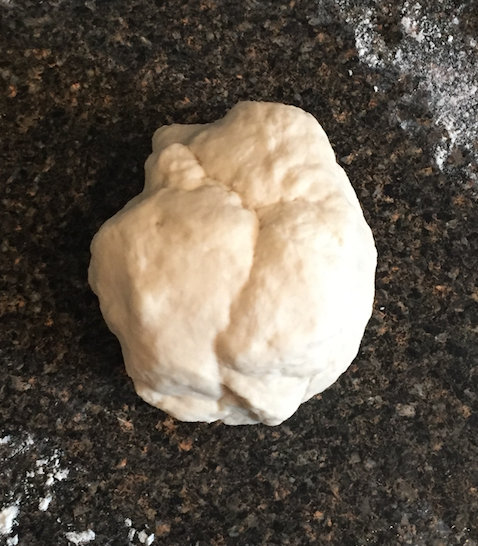
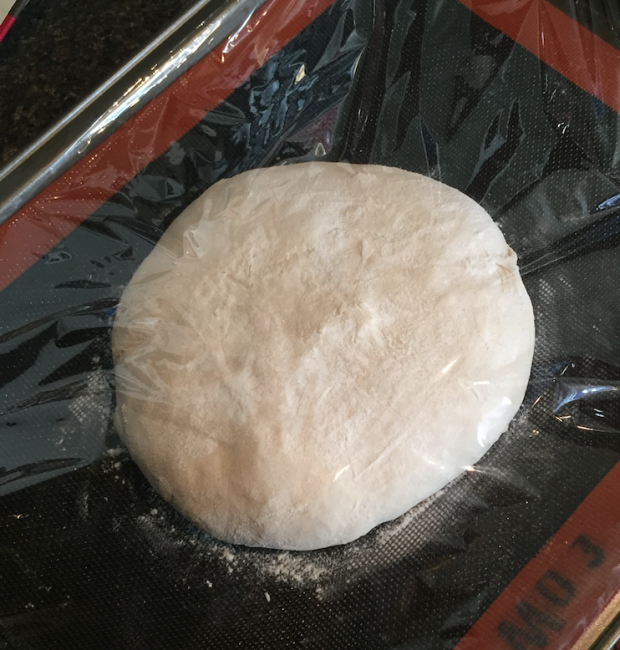
I turned it out onto a floured counter for shaping. It was super puffy and light! Also, it was very wet, making shaping a bit difficult. I had to dust the top with flour and use plenty more on my hands in order to maneuver such a wet dough.
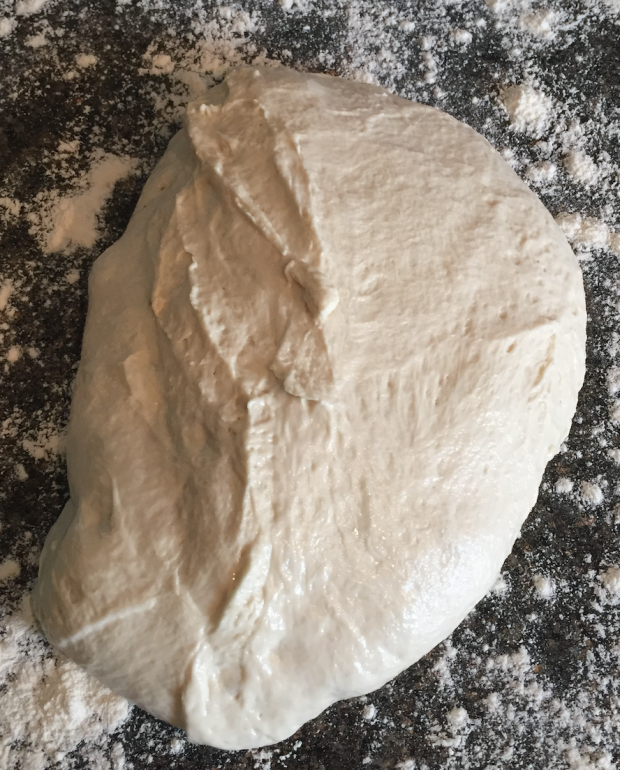
I shaped it into a round loaf by pulling the edges together and pinching them at the top. Then, I placed it on my baking sheet, which I had lined with a silpain liner, crease side up. I know it doesn’t look like there’s a crease, but it really was there! The dough was just so wet that it sort of morphed back into the lump. Maybe next time I’ll be able to get the right look.
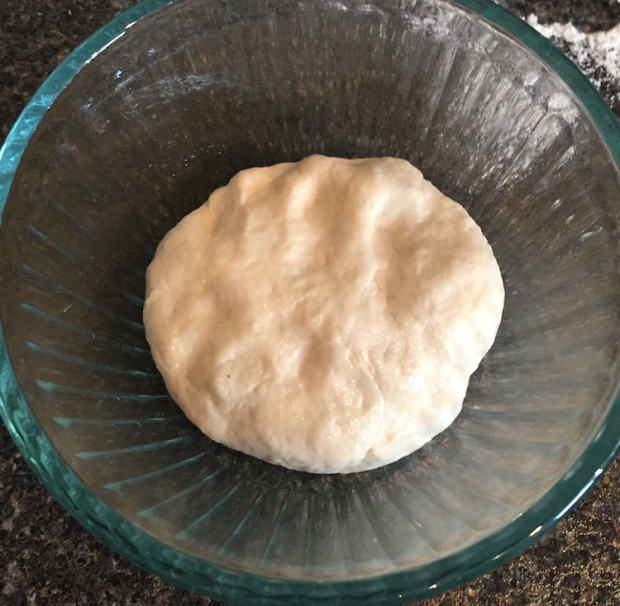
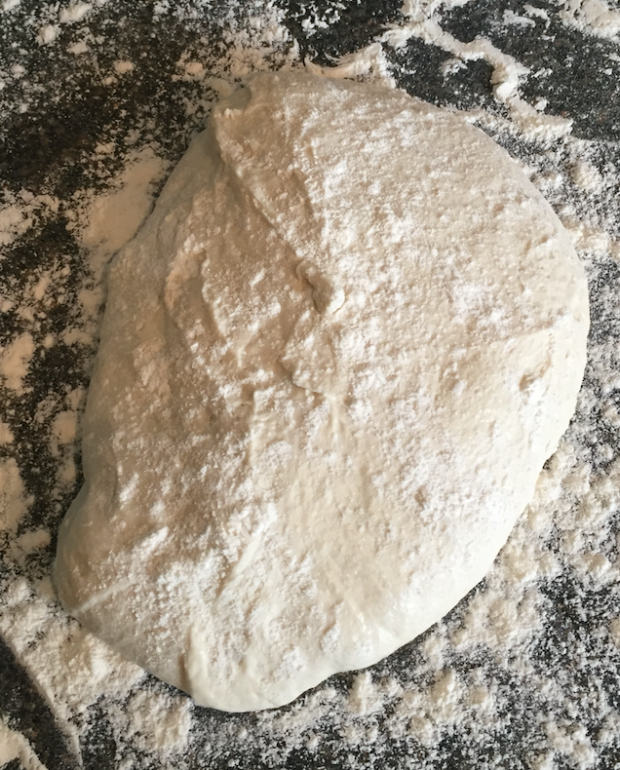
I dusted it with a bit more flour before covering it lightly with plastic wrap.
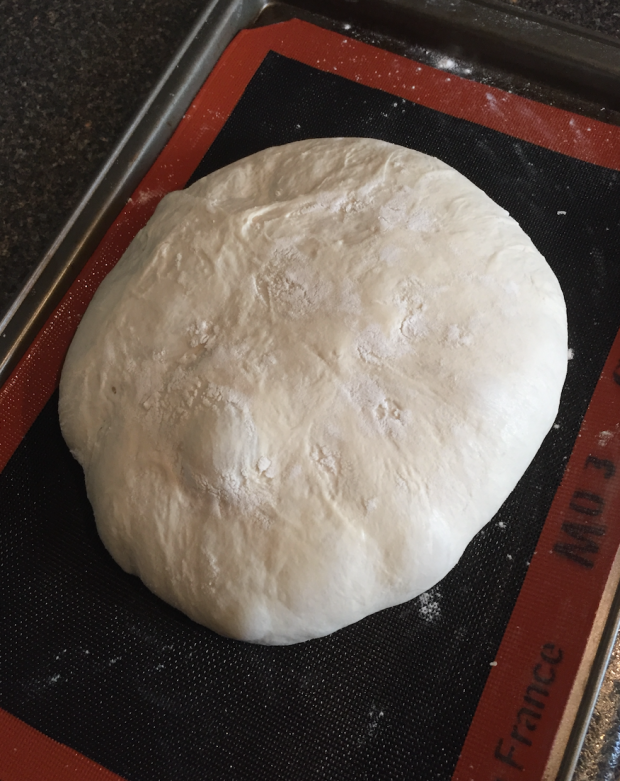
At one point during the rise, I was worried about the plastic wrap sticking to the loaf. (I had a nasty experience with that while making my crusty country loaf.) I found that it was just starting to stick, so I dusted it with a bit more flour and covered it back up.
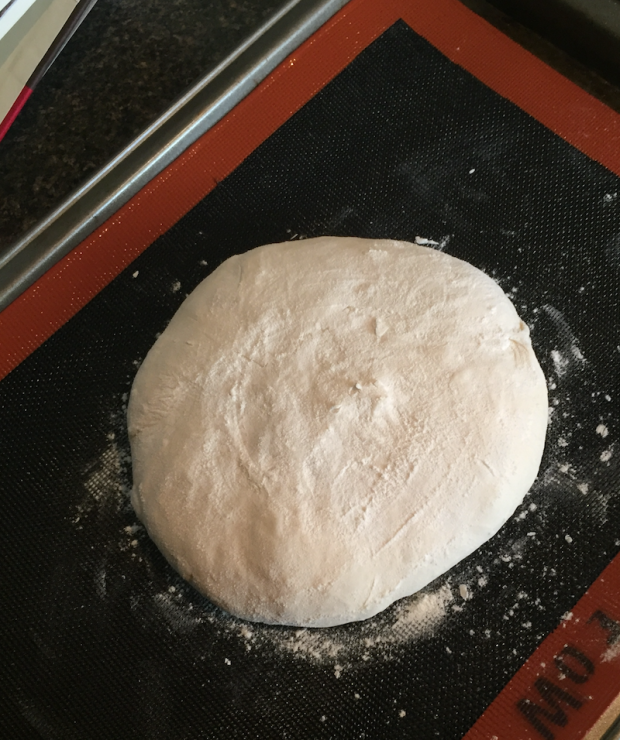
I allowed it to rise for about 1 hour 15 minutes. At this point, it was super puffy and light! Certainly reminiscent of a ciabatta.
During the last bit of the rise, I placed a baking pan on a rack at the lowest level in my oven and a baking stone on a rack just above it. I preheated the oven to 450 degrees F.
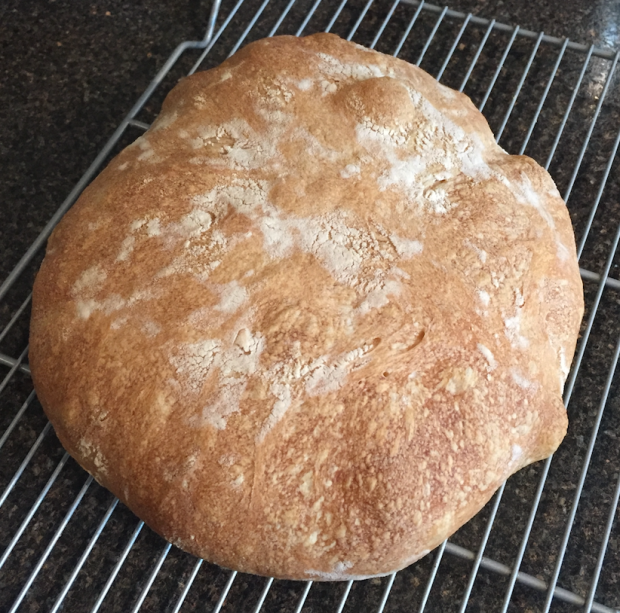
When the loaf was done rising, I placed it on the baking stone in the oven, placed some ice cubes in the baking pan, and quickly shut the door. I baked it for 28 minutes in total, rotating after 15 minutes to achieve a more even bake. In the end, it achieved a nice light golden brown color.
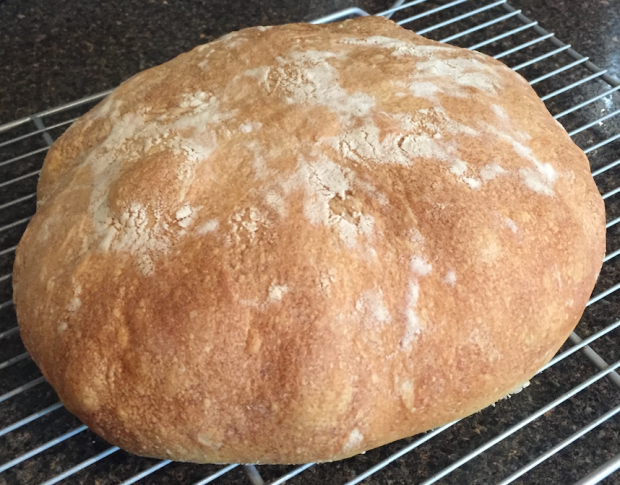
I also noted that it looked pretty lumpy, due to the large air pockets in the open crumb structure. I was very excited to slice it open and check out the crumb! But, I let it cool completely on a wire rack before slicing.
When I finally sliced into it, I found this gorgeous open crumb!
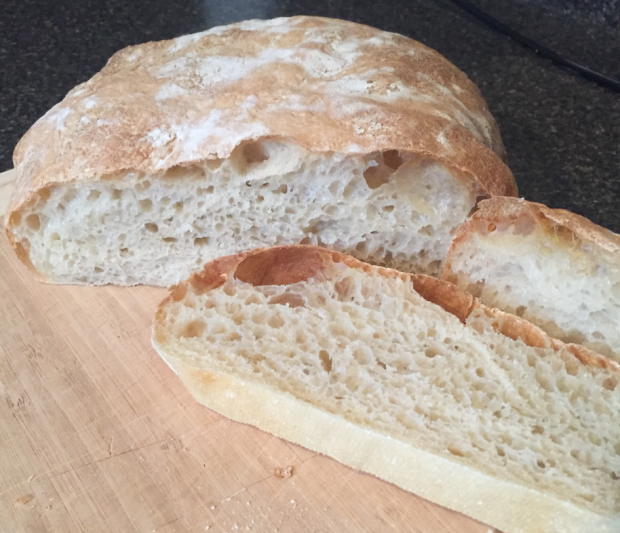
The result was just heavenly! The crumb was soft and moist with a bit of a chew. The crust was lightly chewy as well. It had a wonderful flavor. Honestly, it was just incredible! Even better than the ciabatta. I will definitely be making this one again, possibly many times. Just wow!
Pane di Como
(Adapted from Local Breads by Daniel Leader)
Ingredients
Biga
- 2.65 oz water, room temperature
- 1/2 teaspoon instant yeast
- 4.4 oz unbleached bread flour
Dough
- biga (above)
- 7.05 oz water, room temperature
- 3/4 teaspoon instant yeast
- 8.8 oz unbleached bread flour
- 1 teaspoon salt
Instructions
- In a small bowl, mix ingredients for biga until a rough dough forms.
- Turn out onto lightly floured counter and knead briefly, about 1 to 2 minutes, until fairly smooth.
- Lightly oil small bowl. Place biga in bowl, lightly oil top, and cover with plastic wrap.
- Allow to ferment at room temperature for 1 hour.
- Place in refrigerator and allow to ferment for 8 to 16 hours.
- Scrape biga into bowl of stand mixer. Add water and use a spatula or bowl scraper to break up biga.
- Add yeast and flour. With dough hook, mix on low speed (“stir” or #2 for KitchenAid) until rough dough forms, about 1 minute.
- Add salt and knead on medium speed (#4 for KitchenAid) for about 10 to 12 minutes. Dough should be very wet and sticky and may not come away from sides of bowl.
- Scrape dough into lightly oiled bowl, lightly oil top, and cover with plastic wrap. Allow to rise until doubled in size, about 2 to 2 1/2 hours.
- Scrape dough onto floured surface. Sprinkle some flour over the top. Shape into a round loaf by pulling the edges in and pinching at the center. Place on baking sheet lined with silpain liner (or parchment paper dusted with flour), seam side up. Dust with a bit more flour, if necessary.
- Cover loosely with plastic wrap. Allow to rise until almost doubled in size, about 1 to 1 1/2 hours.
- During last bit of rise, place a baking pan on rack at lowest level in oven. Place a baking stone on rack just above it. Preheat oven to 450 degrees F.
- When finished rising, place loaf in oven on top of baking stone. Place some ice cubes in baking pan (about 4) and quickly close oven door.
- Bake for 20 to 30 minutes, until light golden brown, rotating about halfway through to achieve an even bake.
- Remove from oven and place on wire rack to cool completely before slicing.

I know it has been years since you wrote this article. But I have recently re-tried this recipe from Field and had the same problem as you do with the wet dough. However, my biga was also wet. Yours looks much more solid. After searching the universe, I find you seem to be the only one with my experience (except for the biga). I am going to use bannetons tonight to shape it and Le Creuset and Lodge bread ovens. But my crumb was always close, not airy like yours. I’m getting pretty confused over this recipe and wonder if it wasn’t changed from the first edition. Nobody else, nobody!, has the wet dough but you and me.
LikeLike